Framing – 1st Floor
October 20 – 23, 2014
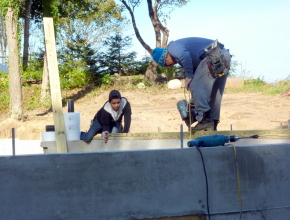
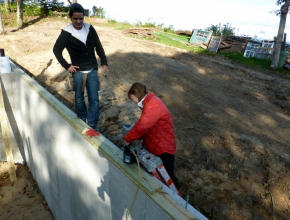 Framing began early Monday morning, October 20th. The first step was to lay down the sill plate over the bolts in the foundation. Carlos showed me how to use the nail gun, and then I got to nail the first 6 nails in the house.
So then I left it to the professionals and they continued to install the sill plates — 2″x6″s nailed together and double stacked and interlocked on the corners.
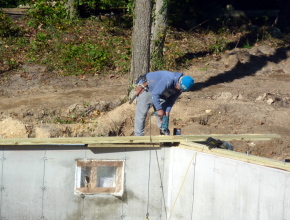
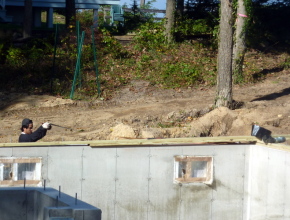
Here’s Carlos drilling the holes in the sill plates and then they’ll be placed on the bolts.
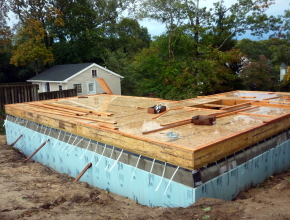
Mario put rolled foam insulation on the foundation first, then the copper foil for pest prevention (like termites), and then the sill plate went on top. They attached the sill plate with square washers and bolts.
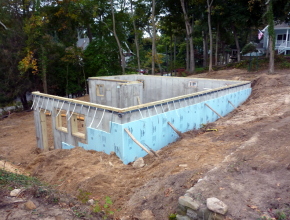
Here’s the house after the sill plate was done. After the sill plate went on, they installed the LVL rim board around the perimeter of the foundation.
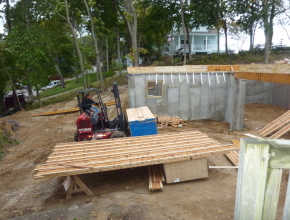
On Tuesday the guy from Riverhead Building Supply brought a truck load full of lumber. He brought all of the TGIs for the floor joists and 2″x6″s for the outer walls.
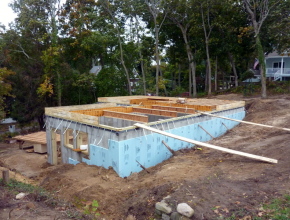
The TGIs went in pretty fast. In a little more than one day, the floor was framed and subfloor installed.
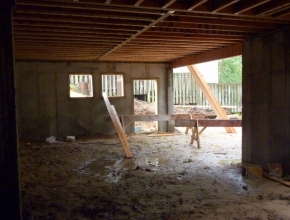
Here’s the view from the basement. Look at the neatness of the framing. You may also notice the puddles of water…
We had a nasty Noreaster hit us on October 23-24, but fortunately they had finished framing the first floor deck. There was 2 inches of water on the floor deck before the rain stopped. This photo also shows 2″x6″s marking the footprint of the rooms in the house. You can see the stairwell, pantry, bathroom, bedroom, and closet. There are very few walls on the first floor.
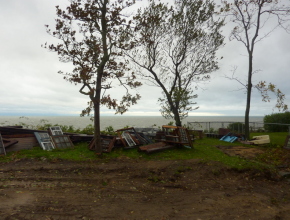
And on the morning of October 23, I got my very first view of the Long Island Sound from my house. Despite the nasty weather, it was breathtaking. Here’s the view.

Evidence of the nasty weather. See the waves crashing on Albany Rock? In the summer, that rock sits on the beach.
